
7 Steps for Creating Awesome High Dynamic Range Photos
High Dynamic Range (HDR) photography is a powerful way to create images with rich detail, balanced light, and dramatic tonal range. Whether you’re capturing landscapes, architecture, or interiors, following a simple and repeatable workflow can consistently elevate your results. Here are seven steps to help you consistently produce stunning HDR photos.
1. Set Up Your Camera
Start with a sturdy tripod to eliminate movement between frames. Switch to manual mode, set a low ISO for clean files, choose an aperture that gives you the depth of field you want, and lock in your white balance. Consistency across frames is key.
2. Compose and Focus
Before capturing your bracketed series, take a moment to fine-tune your composition. Use live view or your viewfinder to check leading lines, balance, and horizon level. Then manually focus or use autofocus and lock it so it doesn’t shift between shots.
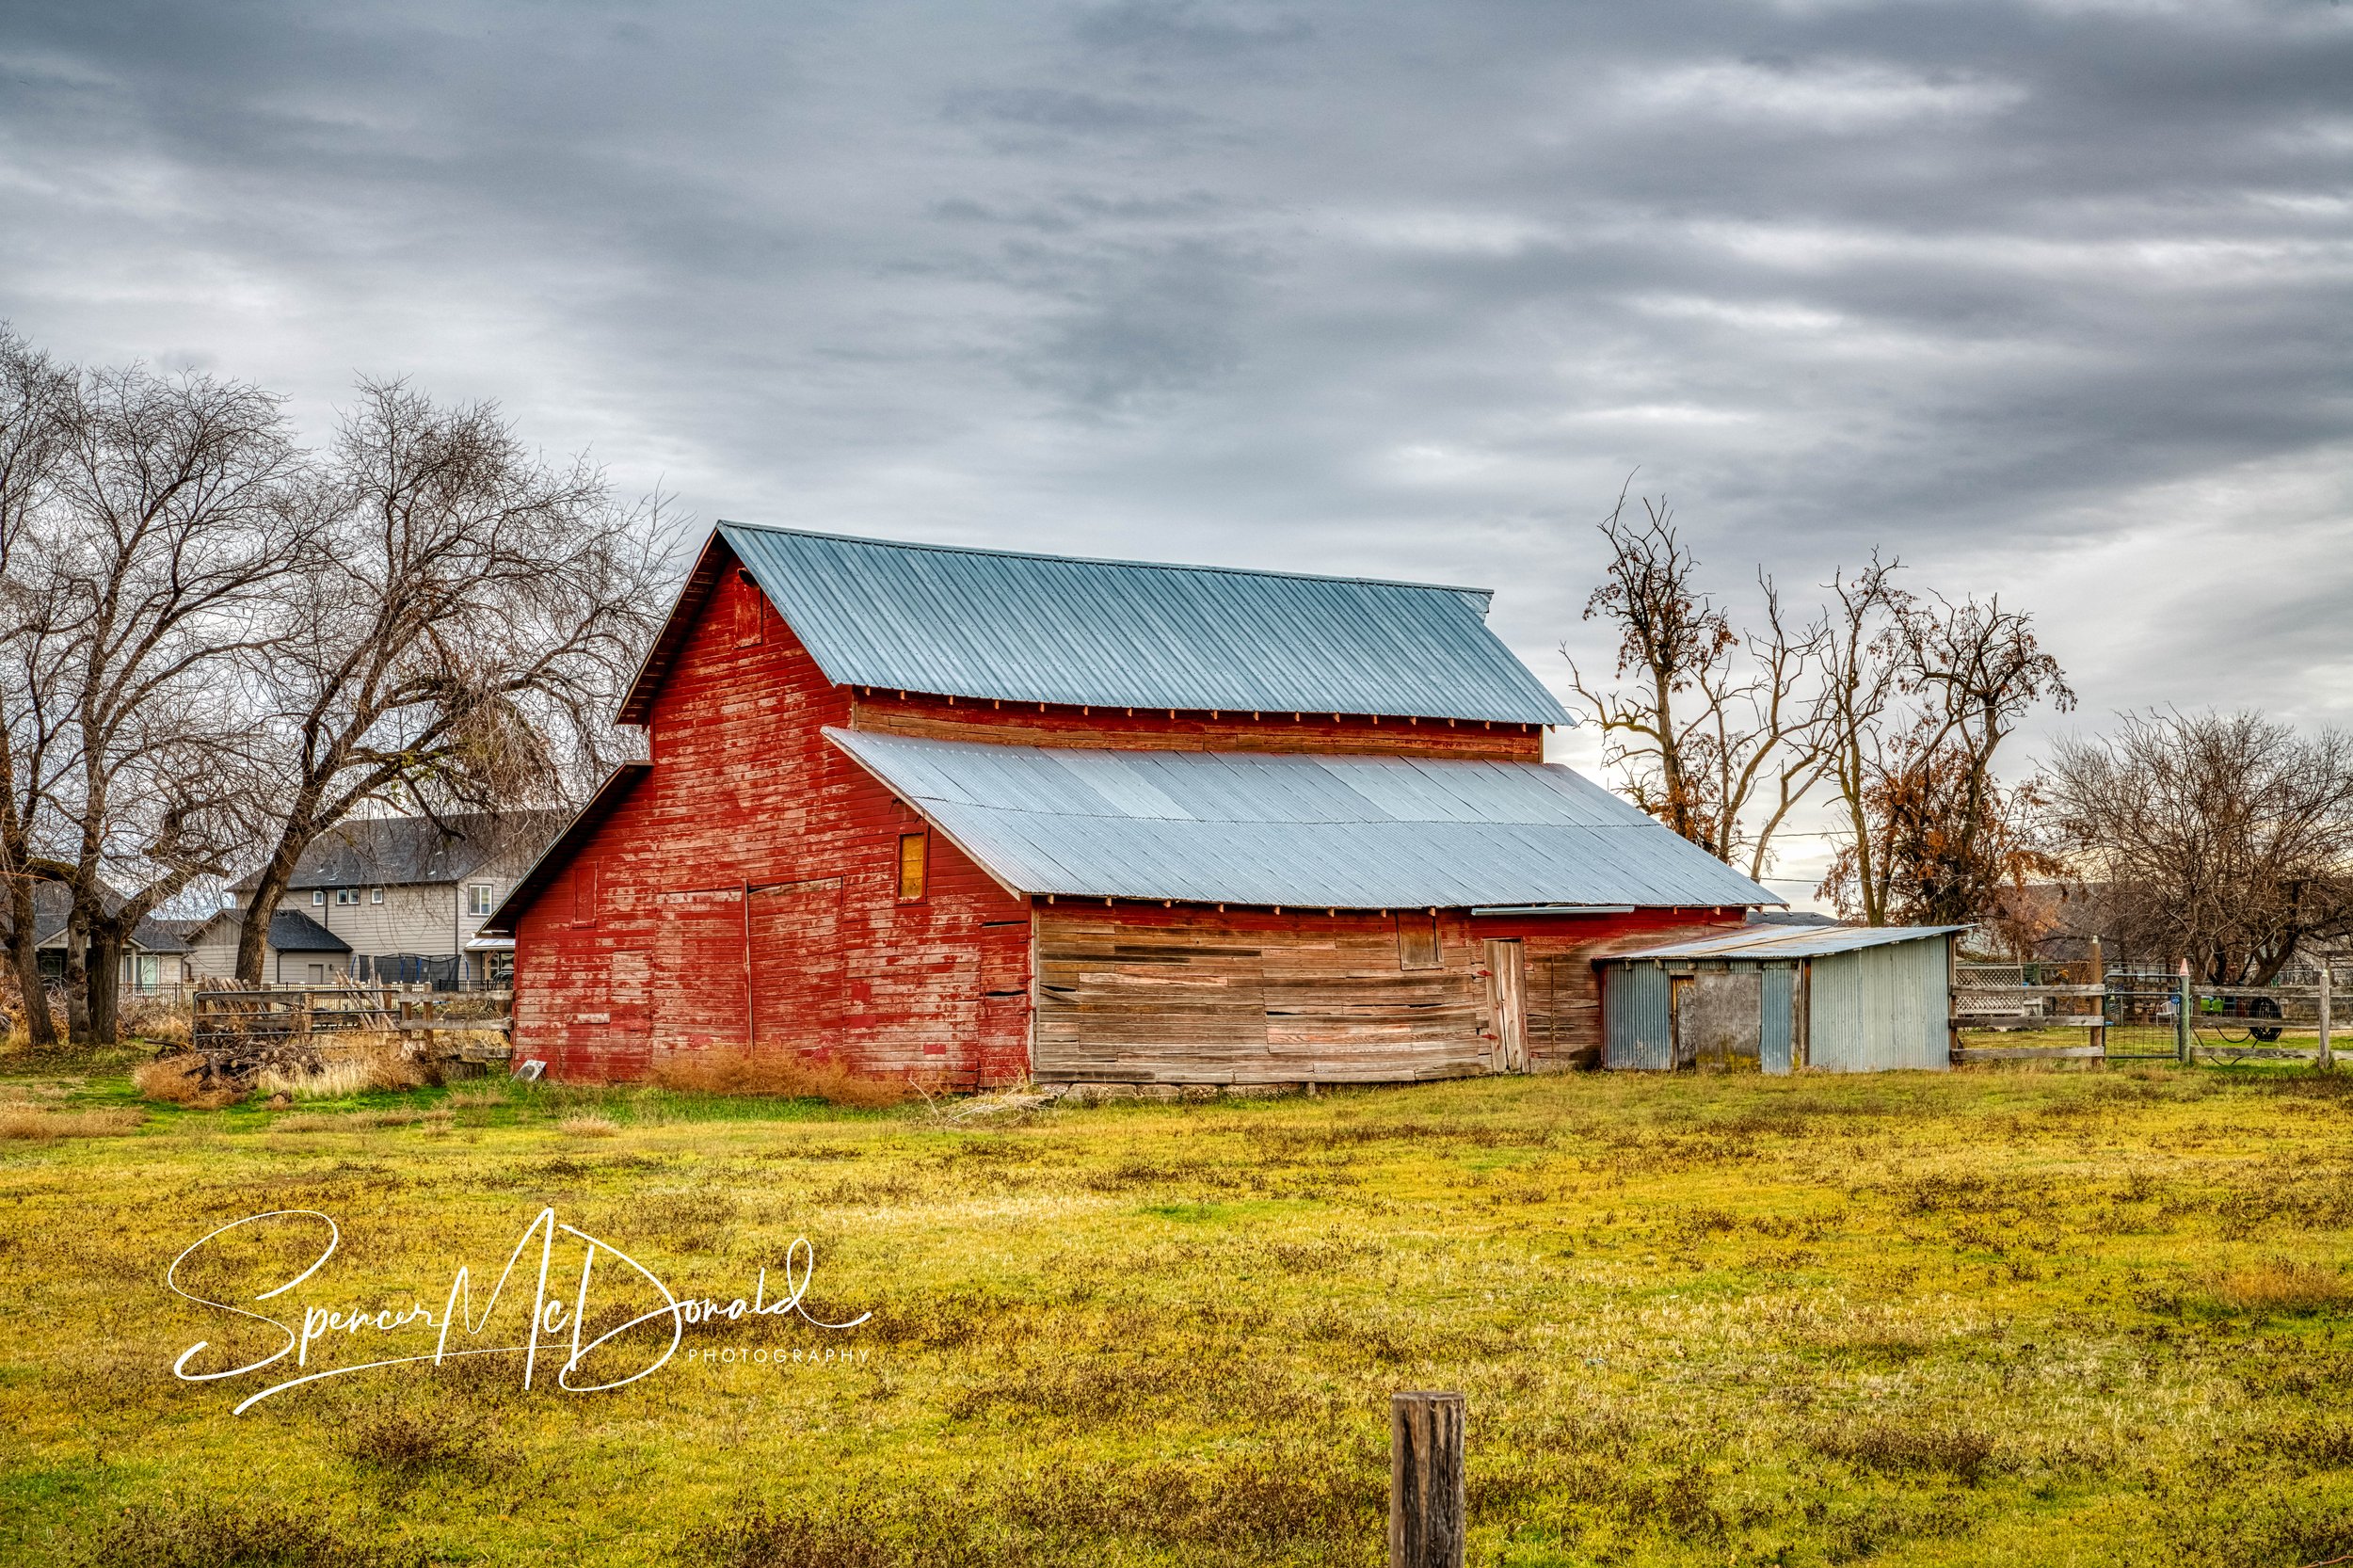
3. Bracket and Capture 7 Frames (-3, -2, -1, 0, +1, +2, +3)
Turn on exposure bracketing and set your camera to capture a full seven-frame sequence. This range ensures you cover deep shadows, midtones, and bright highlights—perfect for creating a rich HDR blend. Use a remote shutter or timer to avoid camera shake.
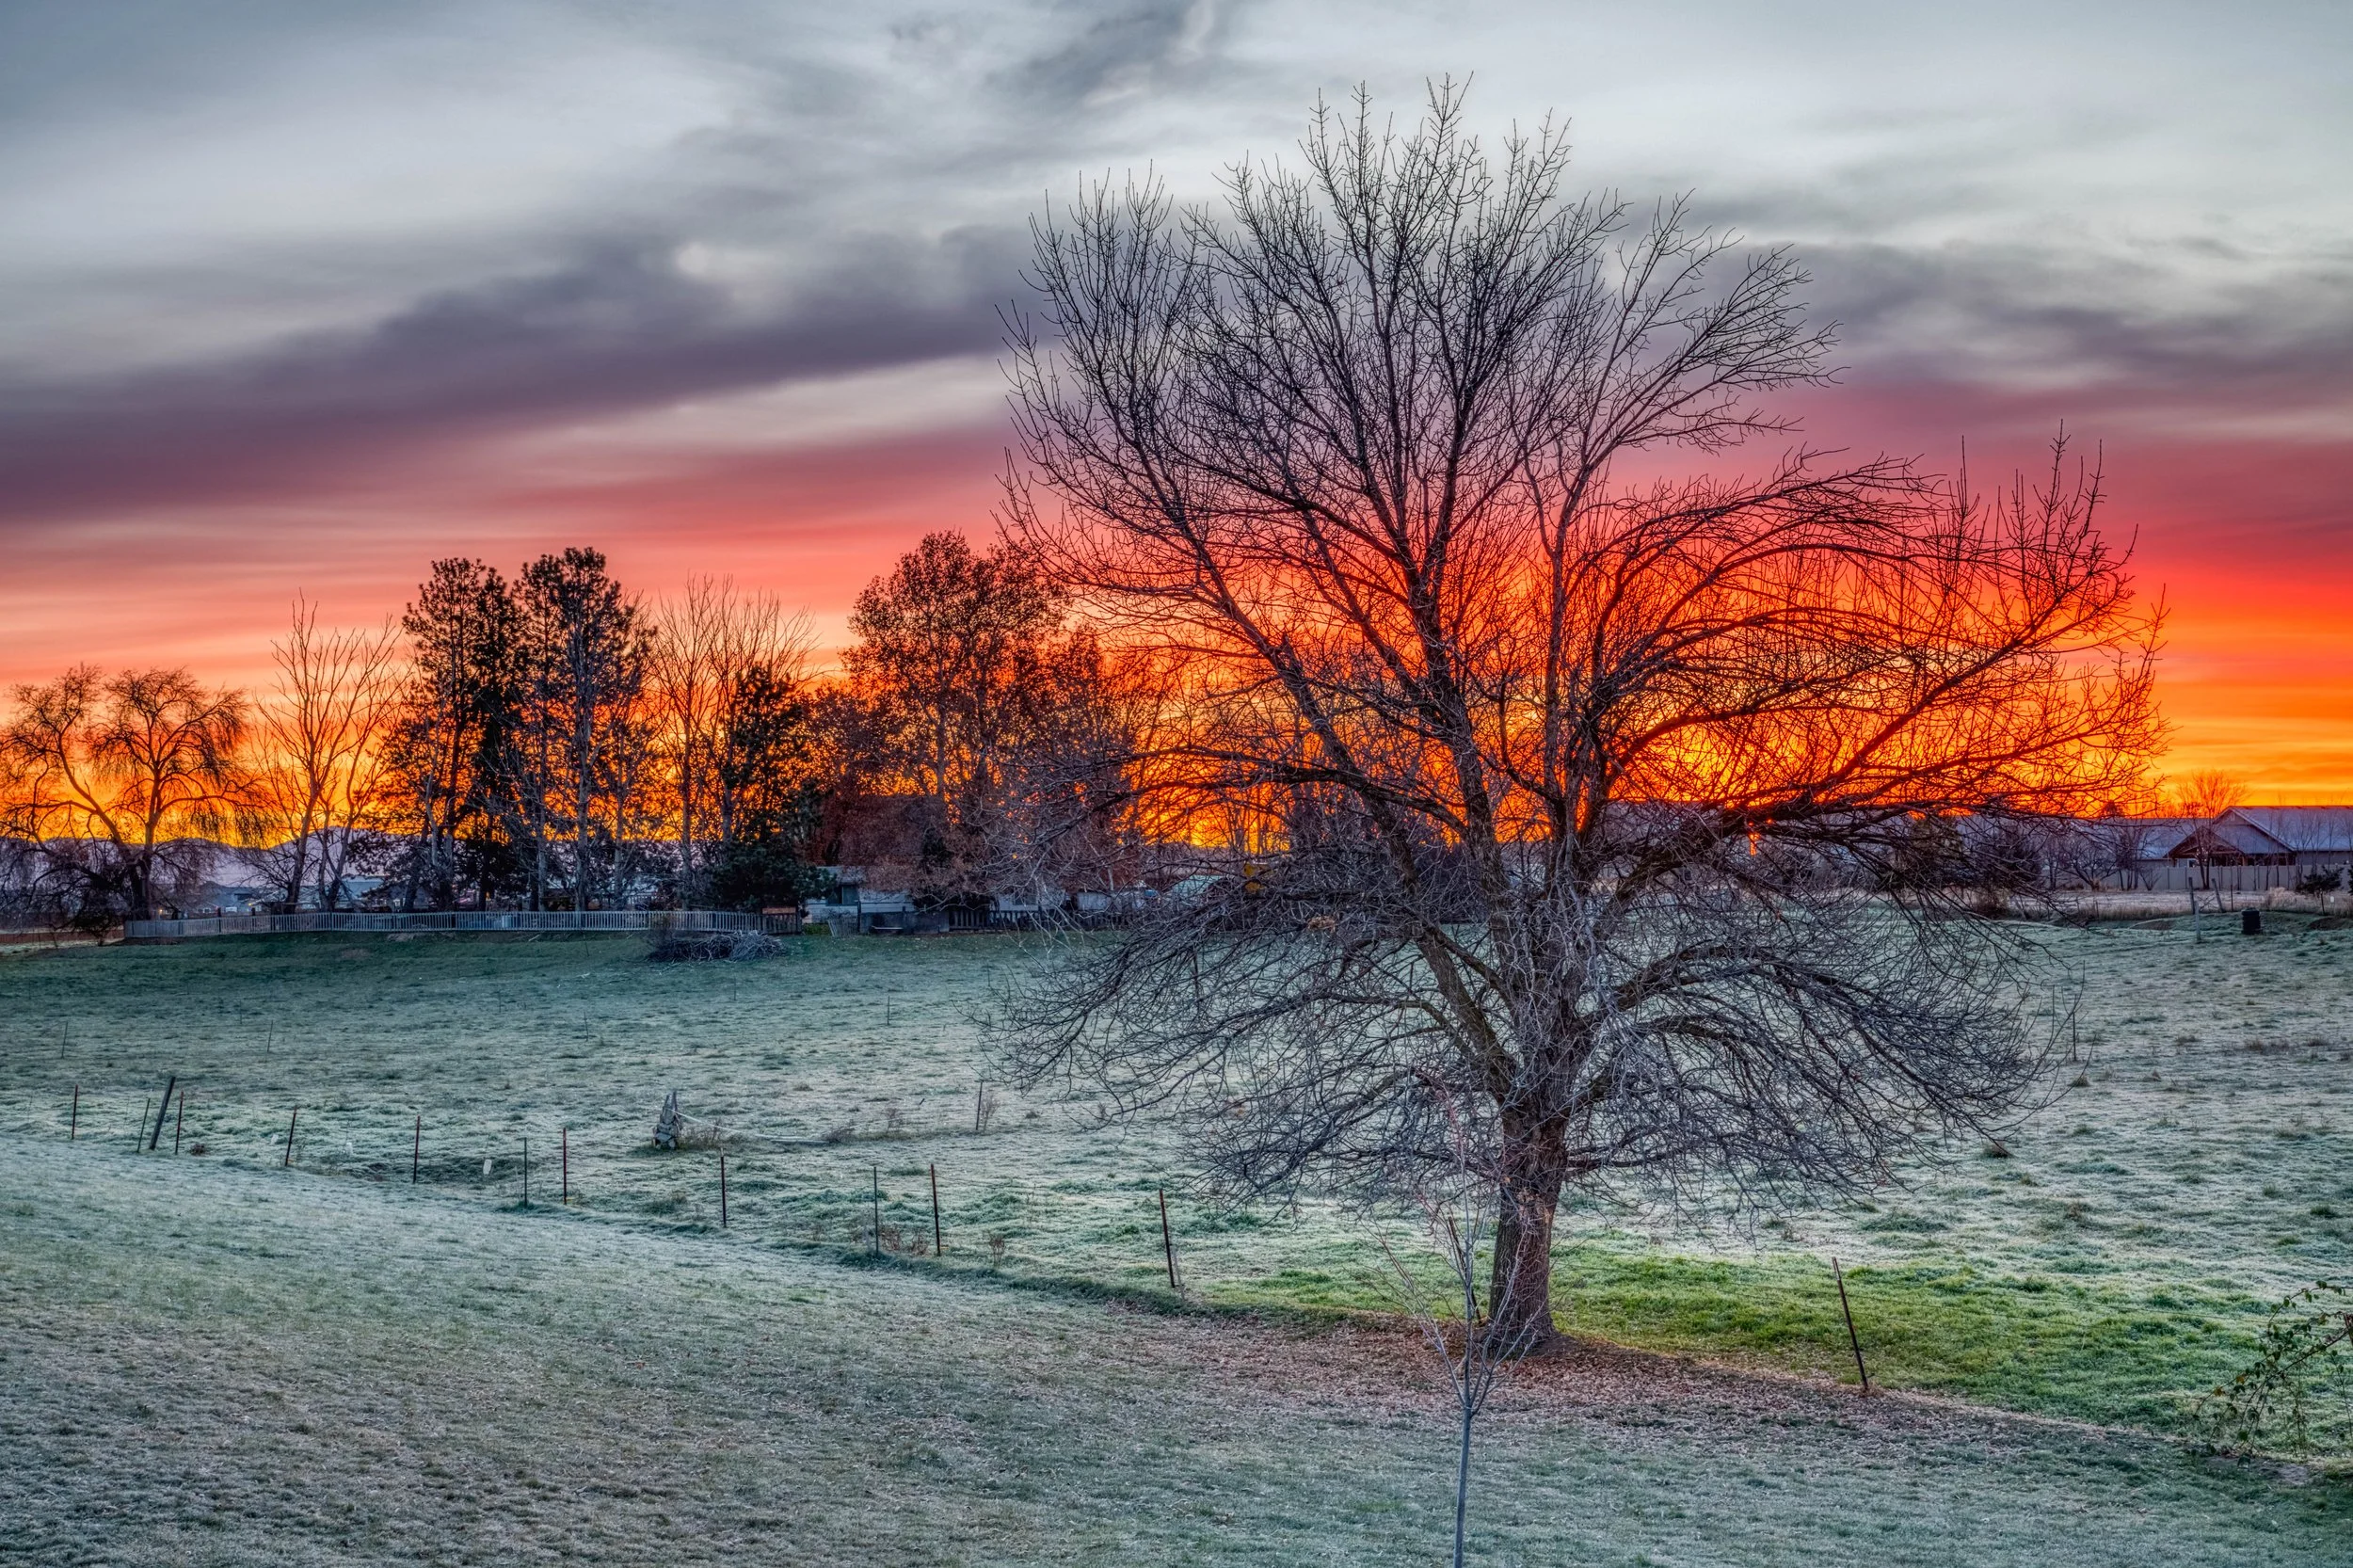
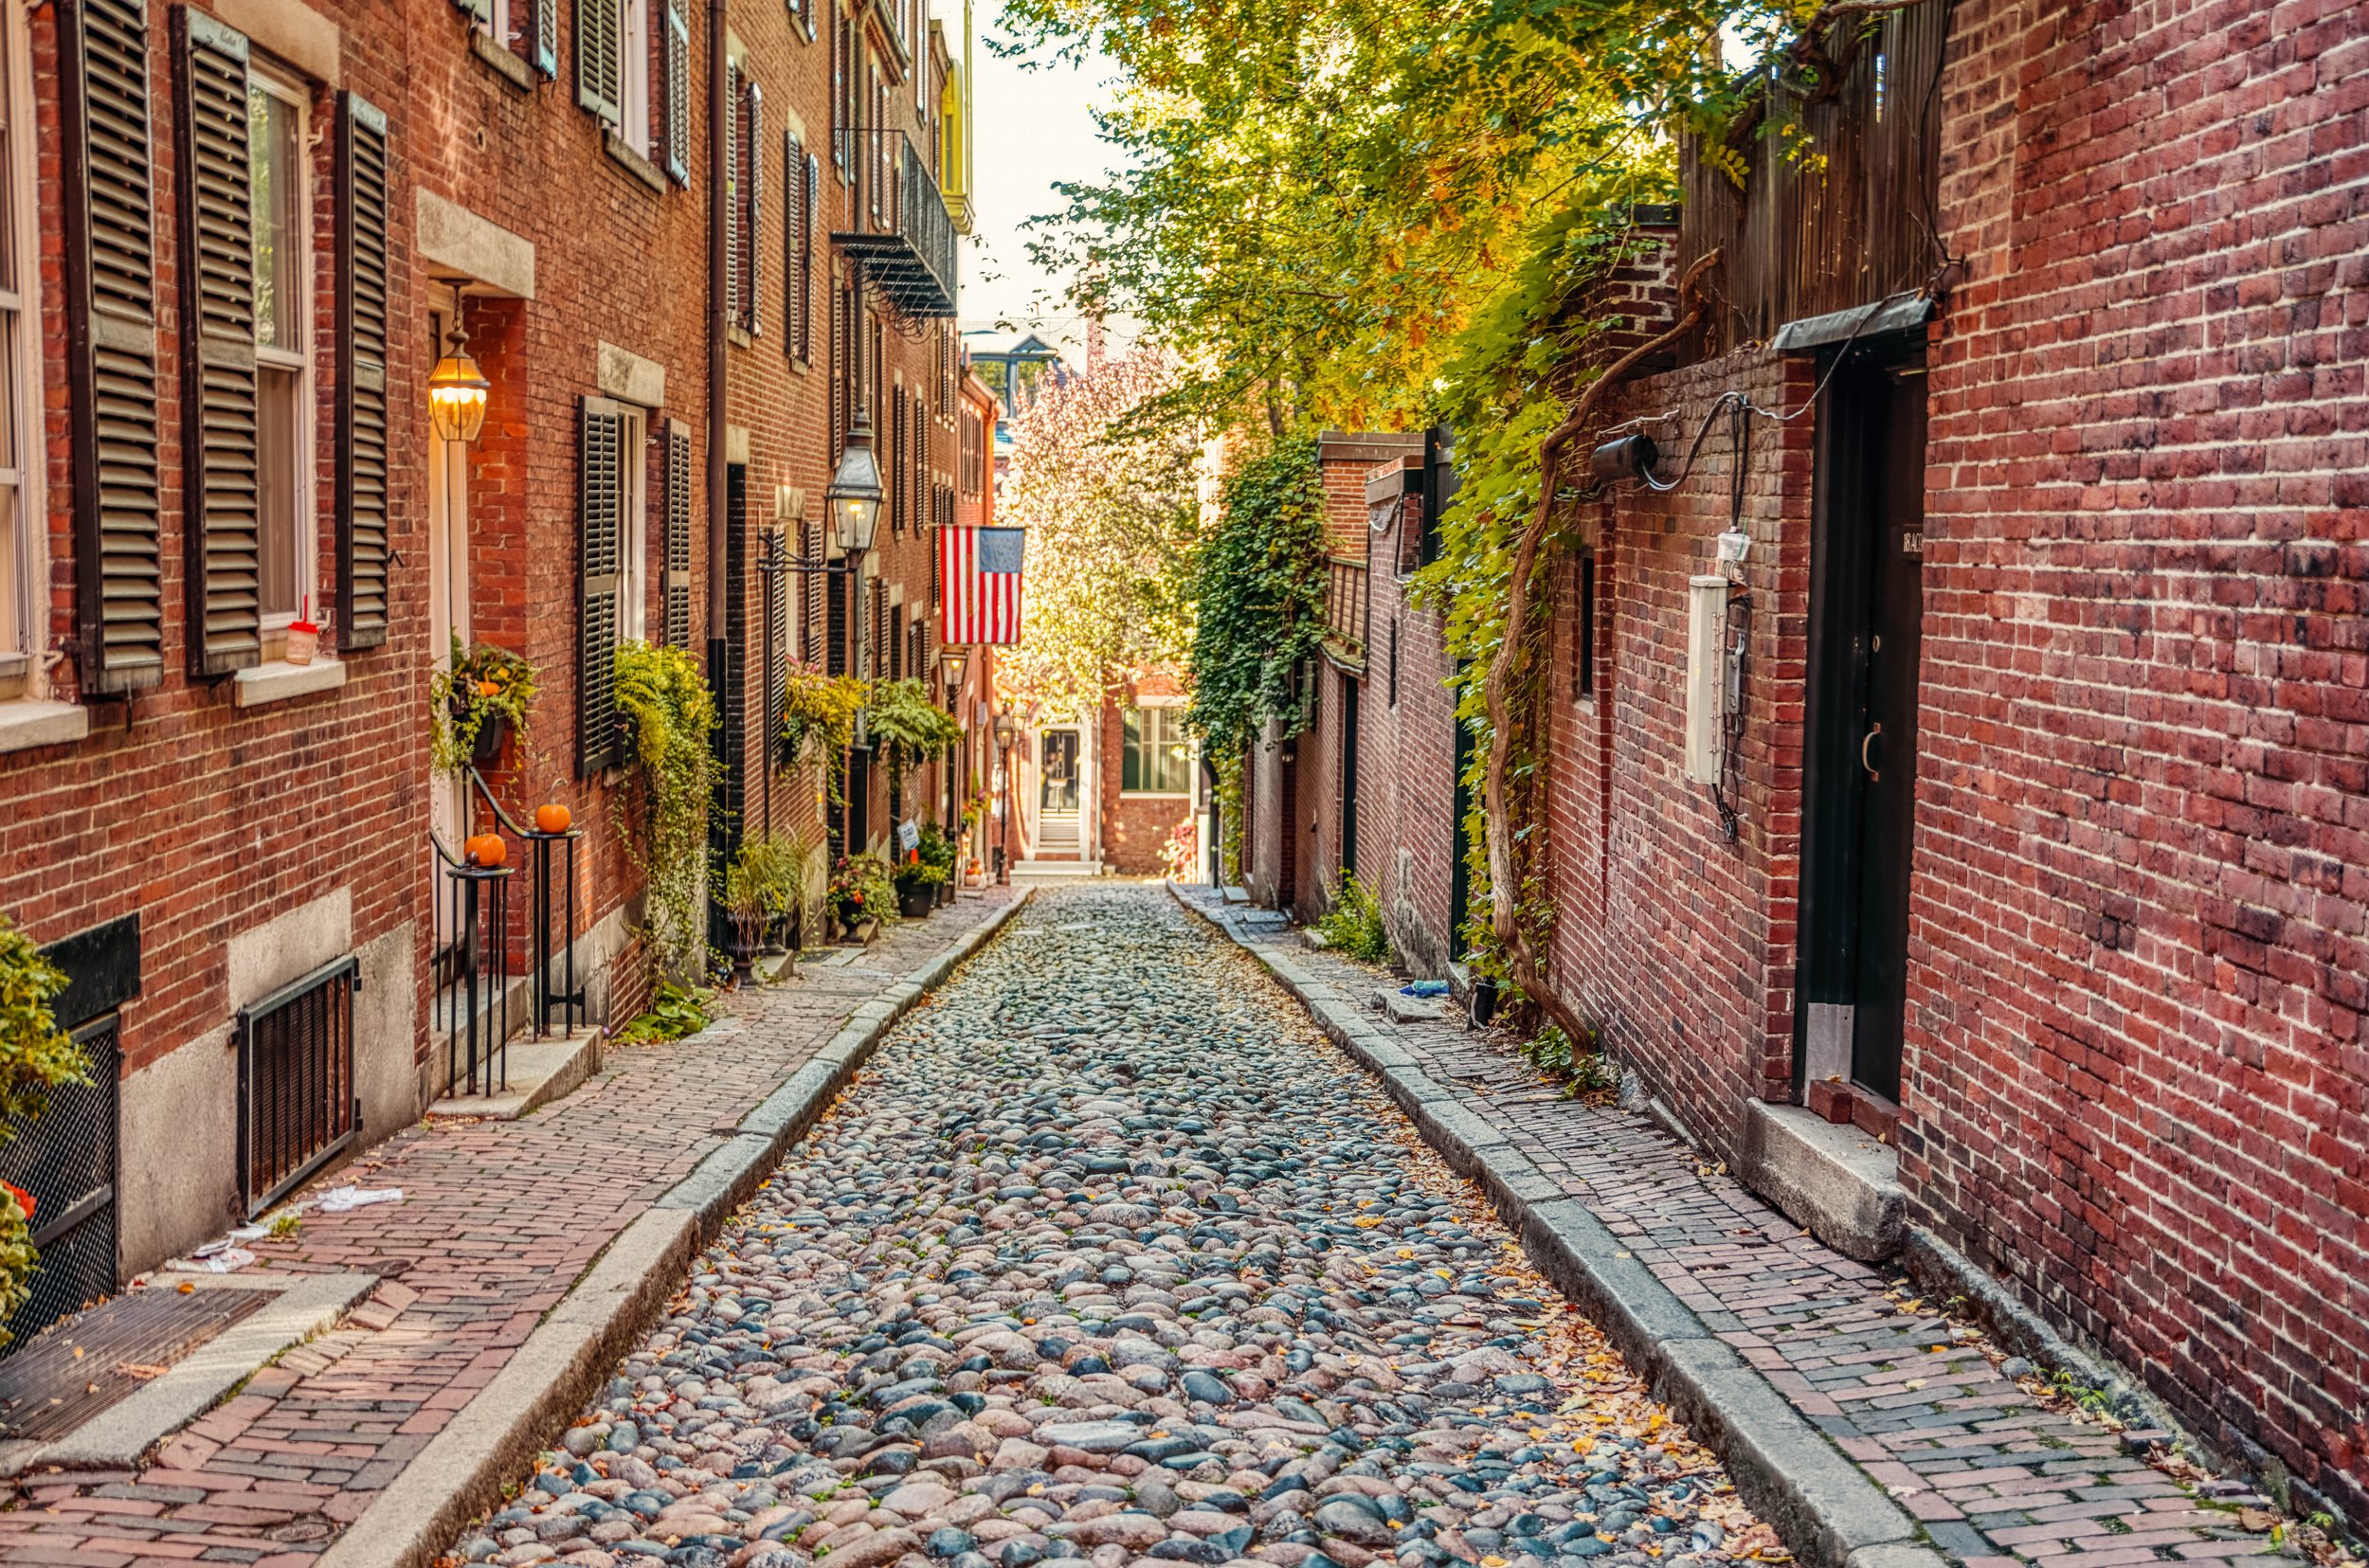
Here is another 7-frame high dynamic range landscape photo I captured recently. Or, you can check out my urban photos from Boston.
Once you’re back at your computer, import your full series into Lightroom Classic. Apply basic metadata, assign a collection if needed, and quickly cull any frames that aren’t part of your bracketed sets.
5. Merge in Luminar HDR
Send your bracketed sequence directly from Lightroom into HDR Merge in Luminar NEO. The software’s AI-powered merge engine creates a clean, detailed, and natural-looking HDR base file.
Remove ghosting, reduce noise, and build a strong starting point before returning to Lightroom.
6. Final Edits in Lightroom Classic (Presets)
Back in Lightroom, apply your favorite presets to establish the overall mood and tone. Adjust contrast, color grading, and fine detail to polish the final look. Presets help create consistency across your portfolio and speed up your workflow.
Jim Nix has some awesome presets that work well with Luminar NEO if you prefer.
7. Walk Away and Adjust Later
Once you’re satisfied, save your edits and walk away. Revisit the image later with fresh eyes—you may refine tones, reduce highlights, or adjust color balance. A little mental distance often leads to better final results.
HDR doesn’t have to be complicated. With these seven steps, you can build a repeatable workflow that produces crisp, beautifully balanced images every time you shoot. Happy capturing!